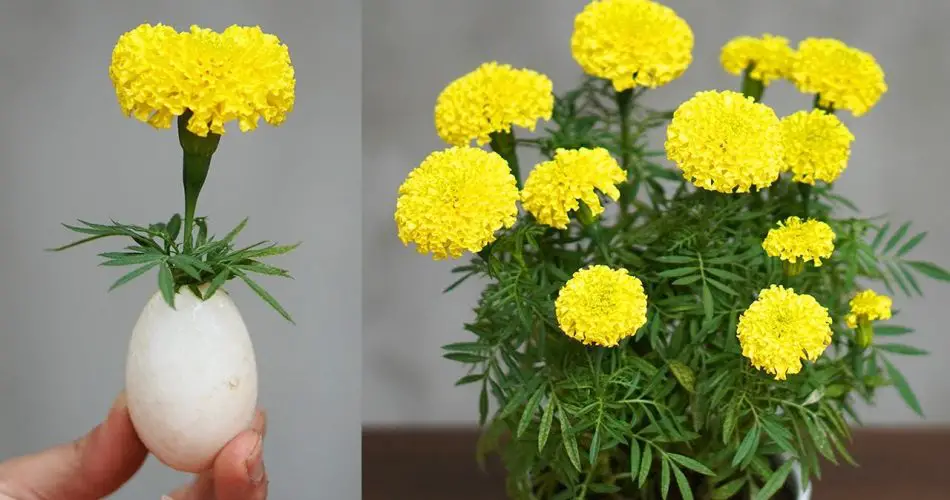
1. Choosing the Right Pot
The foundation of a thriving marigold plant begins with the correct pot selection. Opt for a pot that has ample drainage holes at the bottom. This is crucial as marigolds detest waterlogged conditions, which can lead to root diseases. A pot made of breathable materials like terracotta can further aid in moisture regulation. Consider the size of the pot too; a medium-sized pot (about 12-16 inches in diameter) is ideal for most marigold varieties, allowing room for growth without overcrowding.
2. Quality Soil Matters
The right soil mix can make a significant difference in plant health and flower production. A blend of high-quality potting soil with compost enriches the soil with essential nutrients. The compost acts as a slow-releasing fertilizer, providing a steady supply of nutrients. For marigolds, a soil pH between 6.0 and 7.5 is optimal. You can easily test the soil pH with a kit from your local garden center and adjust accordingly.
3. Sunlight Is Key
Marigolds are sun-loving plants, requiring at least 6 to 8 hours of direct sunlight daily. The more sunlight they receive, the more blooms you can expect. Place your pot in a location where it can bask in plenty of natural light. If you’re growing marigolds indoors, a south-facing window is usually the best spot. Alternatively, consider using grow lights to supplement sunlight during darker months.
4. Planting Depth and Spacing
Proper planting depth ensures that marigold seedlings have a strong start. Plant the seedlings or seeds according to the depth specified on the seed packet, usually about an inch deep into the soil. Space the marigolds about 8 to 10 inches apart to allow for adequate airflow and room to grow, reducing the risk of disease.
5. Watering Wisely
Marigolds prefer to be kept on the drier side, so it’s essential to water them correctly. Overwatering can lead to root rot, while underwatering can stress the plants. Check the soil’s moisture level by sticking your finger an inch into the soil; if it feels dry, it’s time to water. Water at the base of the plant to avoid wetting the foliage, which can lead to fungal diseases.
6. Fertilize Sparingly
While marigolds are not heavy feeders, a light application of a balanced, water-soluble fertilizer every 4 to 6 weeks can support their growth and blooming. Avoid over-fertilizing, as this can lead to lush foliage at the expense of flowers. Organic options like fish emulsion or seaweed extract are excellent choices for marigolds.
7. Pinch to Encourage Bushiness
When your marigold plants are about 4-6 inches tall, pinching off the tips of the main stems can encourage them to branch out. This results in a bushier plant with more stems, which leads to more flowers. Use your fingers or a pair of clean scissors to pinch or cut about an inch from the tips.
8. Deadhead Regularly
Deadheading, or removing spent flowers, encourages marigolds to produce more blooms. This process redirects the plant’s energy from seed production to flower production. Regularly check your plants for wilted or faded blooms and gently remove them.
9. Watch for Pests
Common pests like aphids, spider mites, and whiteflies can be attracted to marigolds. Inspect your plants regularly for signs of pest activity. A strong spray of water from a hose can dislodge many pests. For more persistent problems, insecticidal soap or neem oil can be effective, eco-friendly options.
10. Enjoy the Blooms
Remember to take time to enjoy the fruits of your labor. Marigolds are not only beautiful but also beneficial for gardens, attracting pollinators and deterring pests. Their vibrant colors and easy care make them a rewarding choice for gardeners of all levels.
By following these expanded tips, you’ll be well-equipped to grow a lush, blooming pot of marigolds. Whether you’re an experienced gardener or a novice, these guidelines will help ensure your marigolds are healthy, vibrant, and a joy to behold. Happy gardening!