1. Conduct a Thorough Health Assessment
- Begin by closely examining your orchid. Look for any discolored, yellowing, or drooping leaves, which may indicate stress or illness. Inspect the roots for signs of rot (blackened or mushy texture) and the presence of pests or mold. An accurate assessment of its health will inform your care strategy.
2. Optimize Watering Practices
- Orchids require a delicate balance in watering. They detest being waterlogged yet despise complete dryness. To achieve this balance, water your orchid once the top inch of the potting mix feels dry to the touch. Use lukewarm water to avoid shocking the plant, ensuring thorough drainage through the pot’s bottom.
3. Select an Appropriate Potting Mix
- The right potting mix is crucial for orchid health. Opt for a specialized orchid mix, typically consisting of bark, perlite, and charcoal, which promotes drainage and air circulation around the roots. If the current mix is degraded, affecting water retention and root aeration, it’s time for a change.
4. Consider Repotting When Necessary
- Orchids often thrive when they’re slightly root-bound, but overcrowding can lead to stress. If the roots are circling the pot or the mix has deteriorated, gently repot into a slightly larger container with fresh orchid mix. This is also an opportune time to remove any dead or decaying roots to promote healthier growth.
5. Ensure Adequate Lighting Conditions
- Orchids flourish in bright, indirect sunlight. A north- or east-facing window is ideal. If natural light is limited, consider using grow lights. Be mindful of the balance; too much direct sunlight can scorch the leaves, while insufficient light can impede flowering.
6. Maintain Optimal Humidity Levels
- A humid environment mimics the orchid’s natural habitat. Aim for 40-70% humidity. Grouping plants together, placing a water-filled tray with pebbles (to hold the pot above the water) beneath the orchid, or using a humidifier can help maintain these levels.
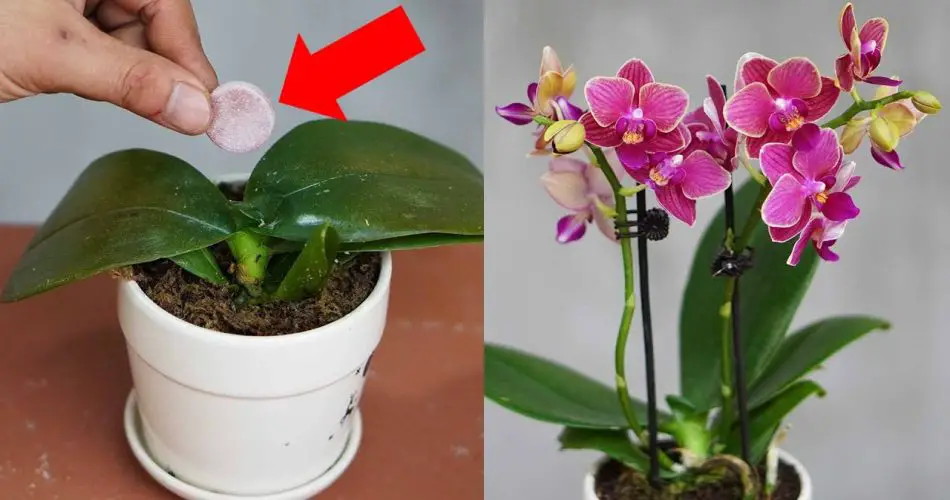
7. Fertilize Thoughtfully
- Use a fertilizer specifically formulated for orchids. Applying a diluted solution (half the recommended strength) every other week during active growth can support healthier blooms. Pause fertilizing when the orchid is dormant to avoid stressing the plant.
8. Practice Strategic Pruning
- Removing dead or dying foliage and spent blooms can redirect the orchid’s energy towards new growth and blooms. Use sterilized scissors or pruning shears to prevent the spread of disease.
9. Exercise Patience
- Recovery and reblooming can take time. Continue providing consistent care, and be patient. Each orchid variety has its own blooming cycle and conditions it prefers for initiating blooms.
10. Celebrate the Rejuvenation
- When your orchid finally blooms, take a moment to appreciate the beauty and the effort it took to get there. Blooming is a sign of a healthy, happy orchid, and your diligent care has made it possible.
By following these expanded care instructions, you’re not just reviving an orchid; you’re cultivating a thriving, blooming plant that can bring joy and beauty to your space for years to come.